Brightspace Zoom
Zoom is a conferencing platform that allows individuals to communicate using audio and video. There are features that also permit the ability to share content. This tool is recommended for live or synchronous courses. This application is offered to both staff and students. To get started with QCC Zoom, if you have not already you can claim your account by following the instructions below.
1. Search in web bar cuny.zoom.us .2. Next select “Sign in”.
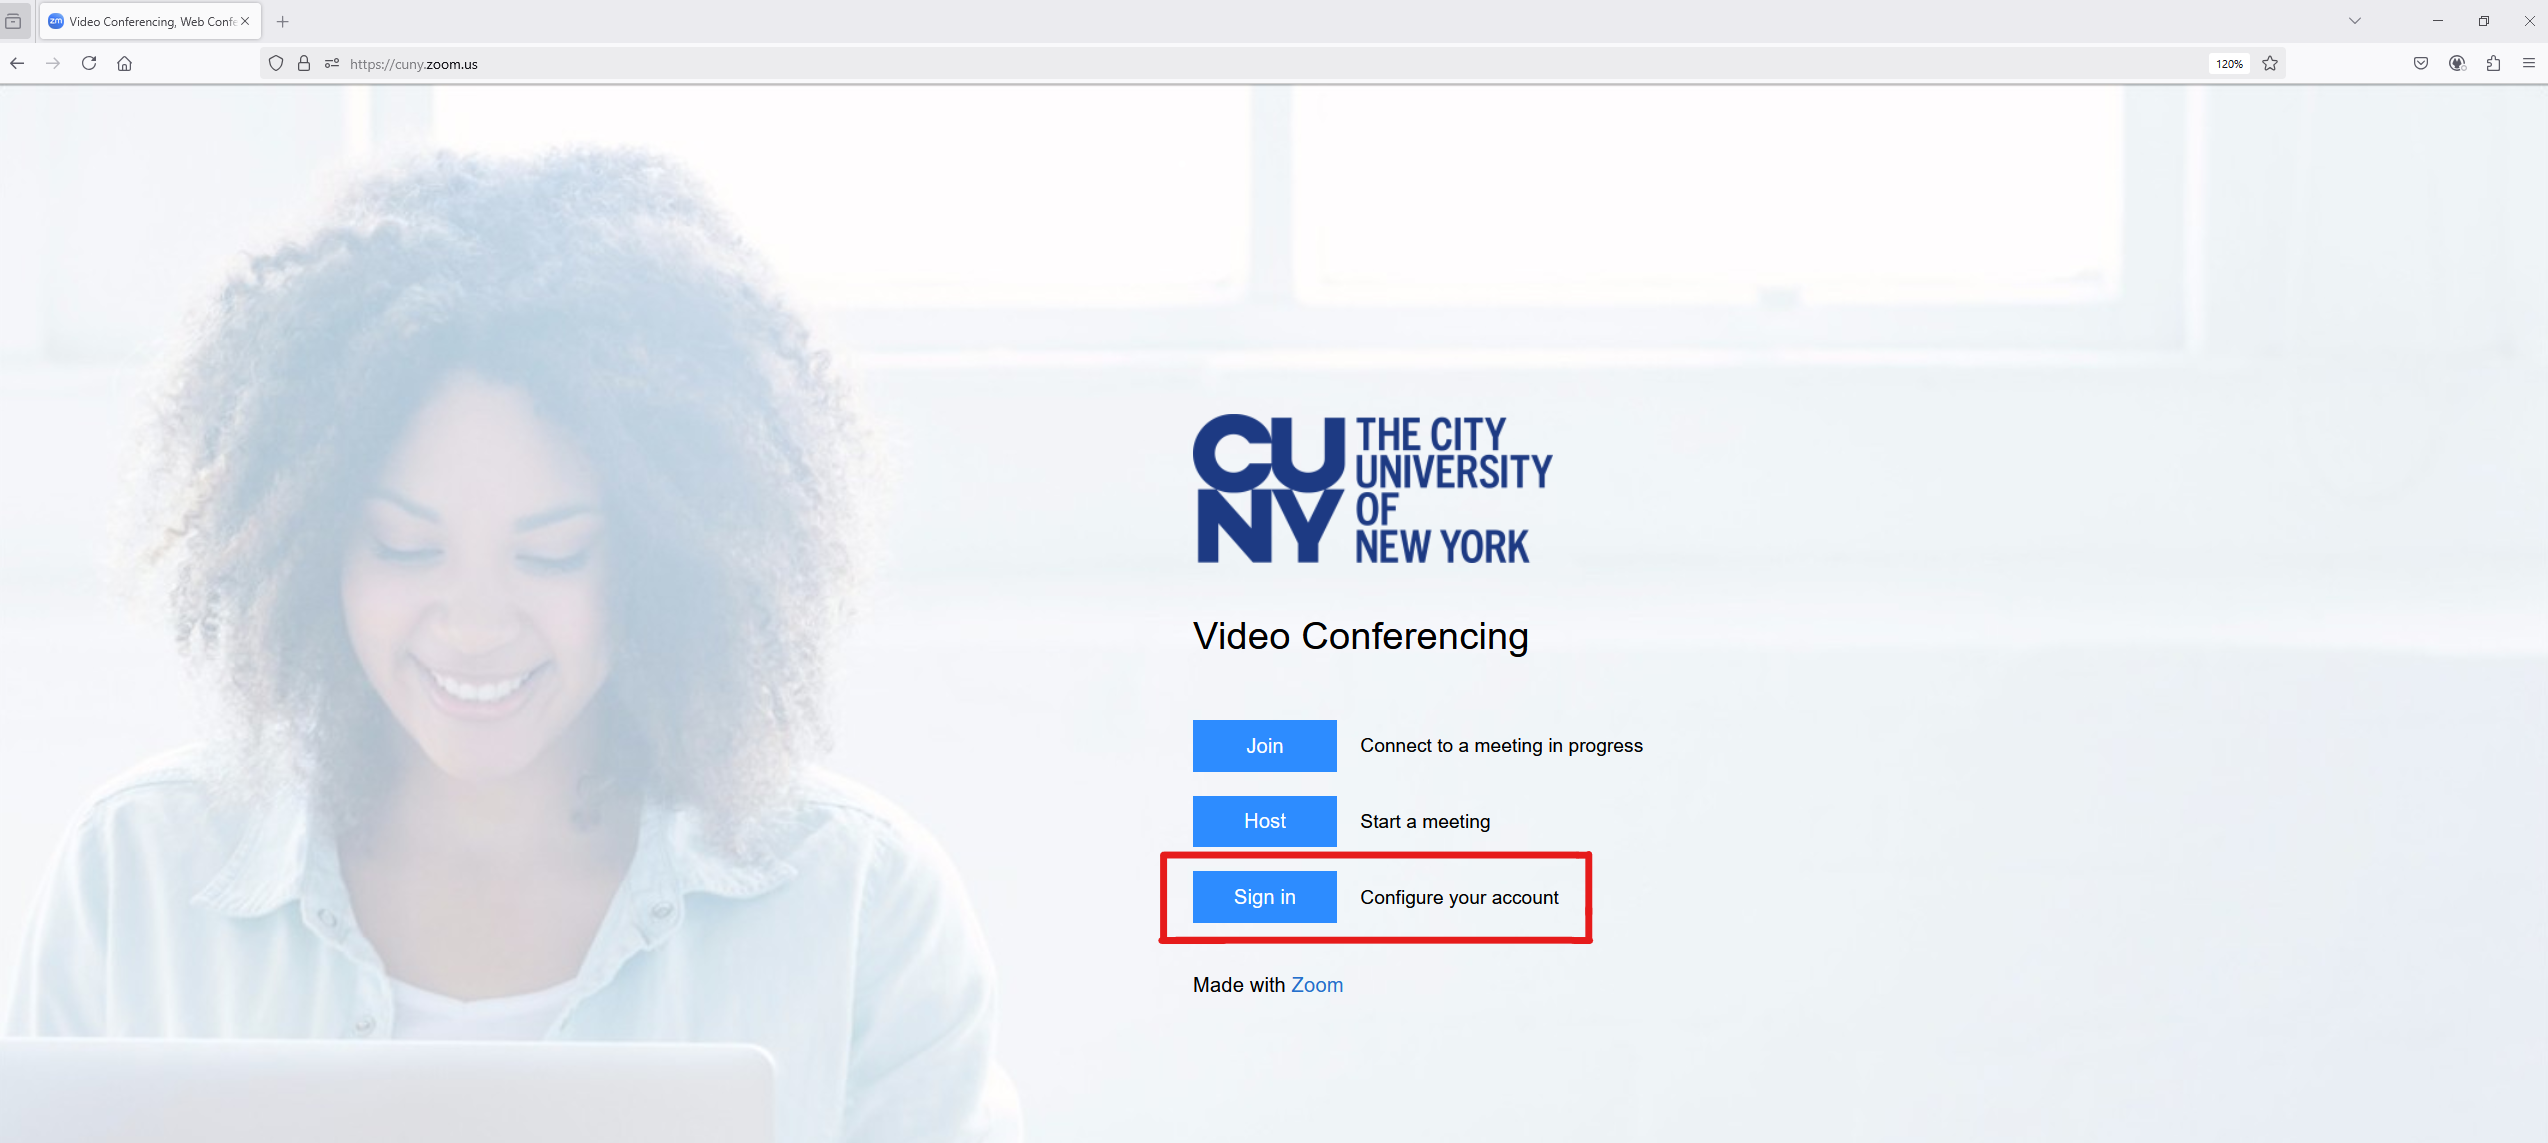
(Figure 1 : The City University of New York's video conferencing page with Zoom options)
3. You will be redirected to the CUNY login page. Here enter your CUNY credentials.
4. After that you will be signed into your CUNY ZOOM account.
How to Add a Zoom Meeting to a BrS Course
1. Go to the Content link in your course NavBar.
2. Add a module for Zoom from the left side Table of Contents menu.
3. Select the newly created content module in which you would like to have a link to the Zoom
Dashboard
4. Select Existing Activities → External Learning Tools
5. Scroll to the bottom of the list of tools and select Zoom-QCC.
6. The Zoom-QCC link will appear.
7. Once you click on it, it will take you to your courses's Zoom Dashboard
How to Create a Zoom Meeting via BrS
1. Once logged onto Brightspace select the course in which you would like to create a zoom meeting for.
2. On the navigation bar select Content.
3. In the Content tab locate the module where the zoom link has been added. Then click on it.
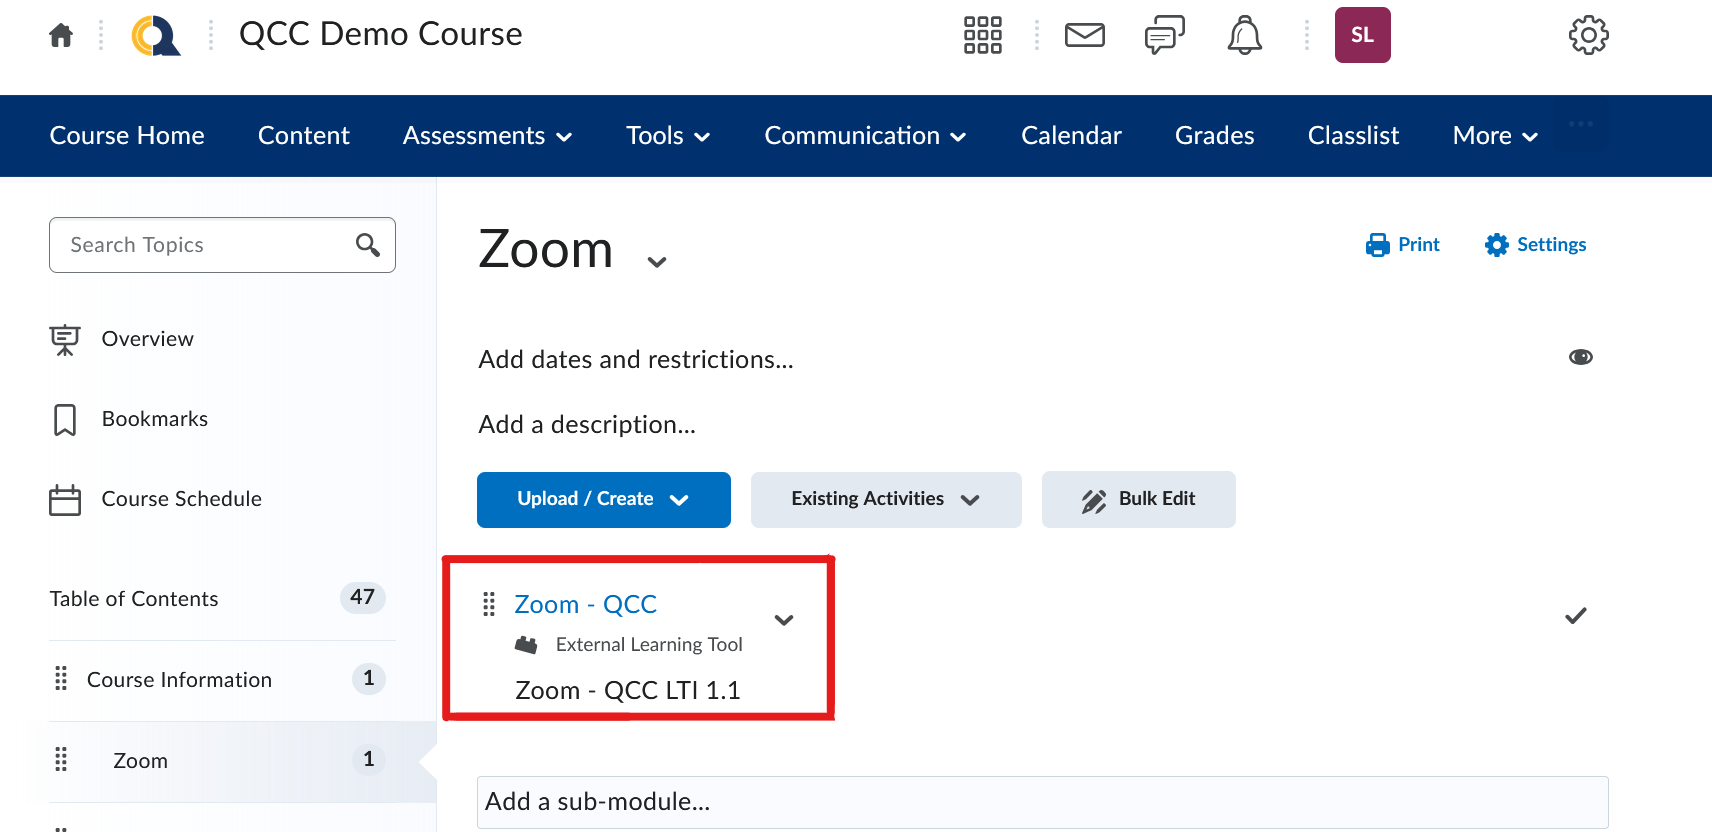
(Figure 1: Screenshot of a learning management system interface showing the "Zoom - QCC" tool.)
4. Now in the Brightspace Zoom meeting room click on Schedule a New Meeting.
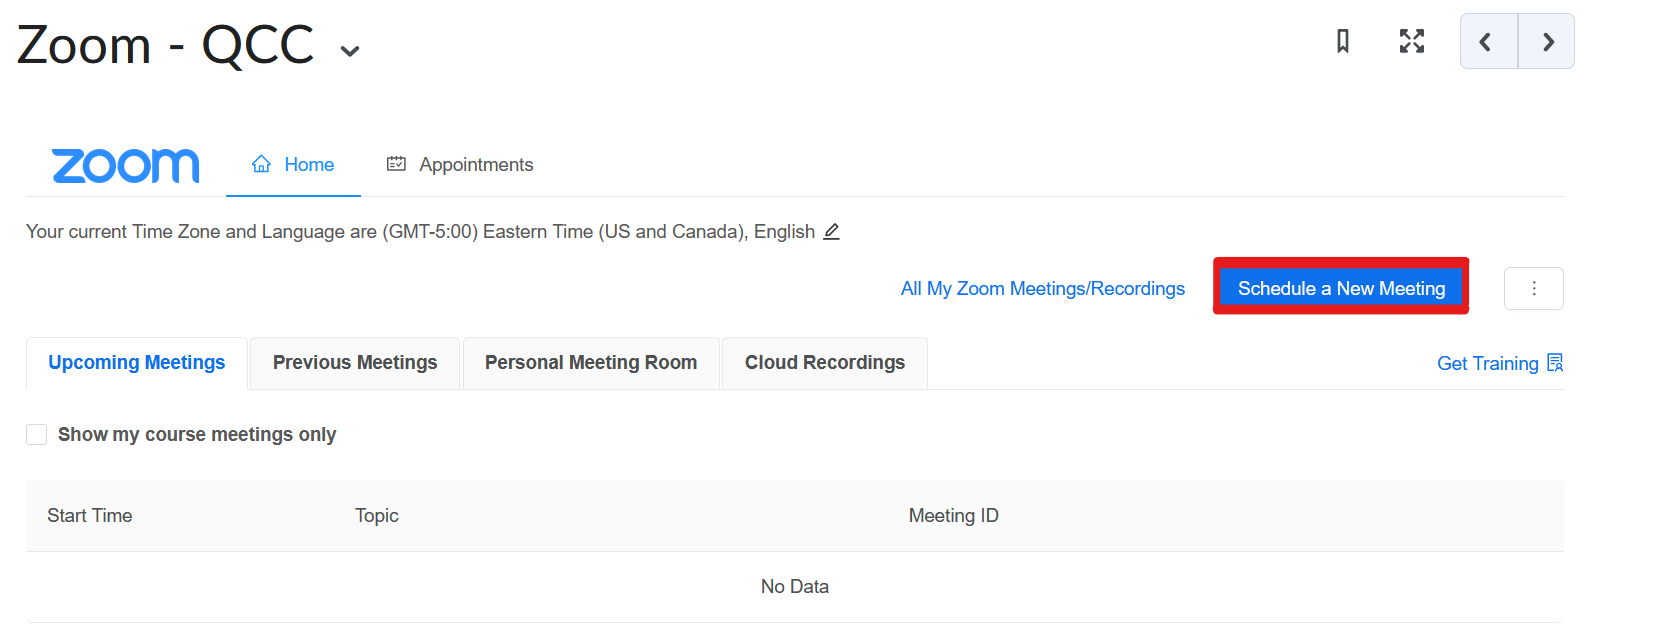
(Figure 2: Brightspace Zoom with option to schedule a new meeting)
5. Enter the information for your meeting.
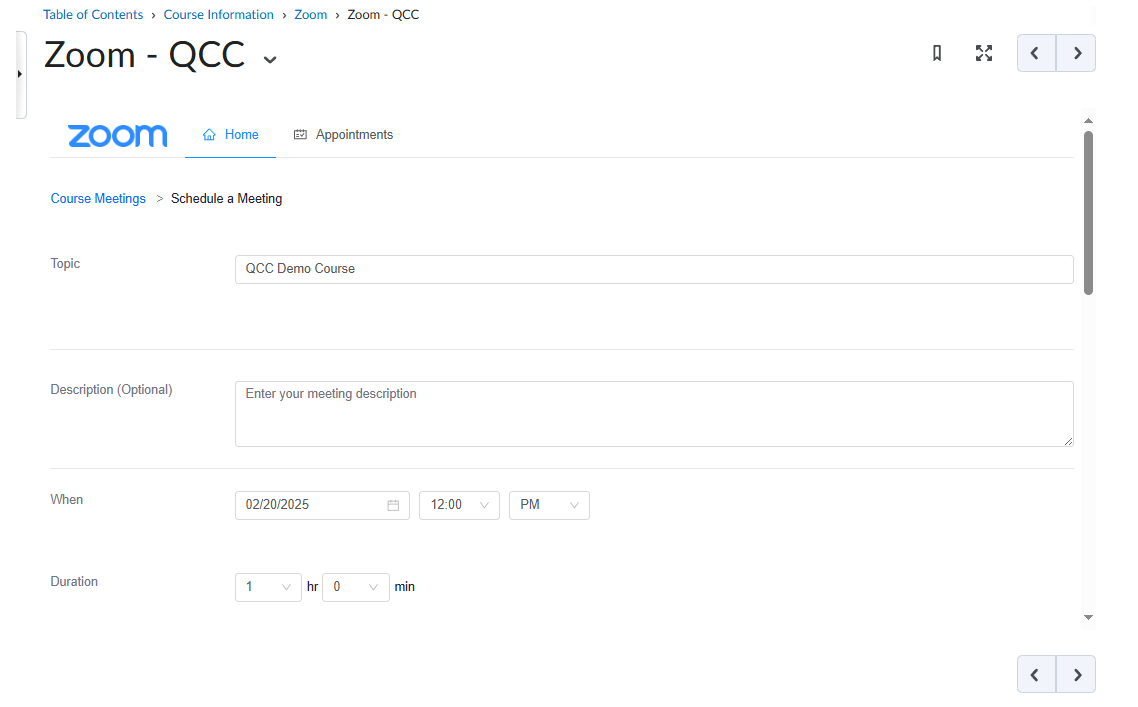
(Figure 3: Screenshot of a Zoom meeting scheduling page within a course management system.)
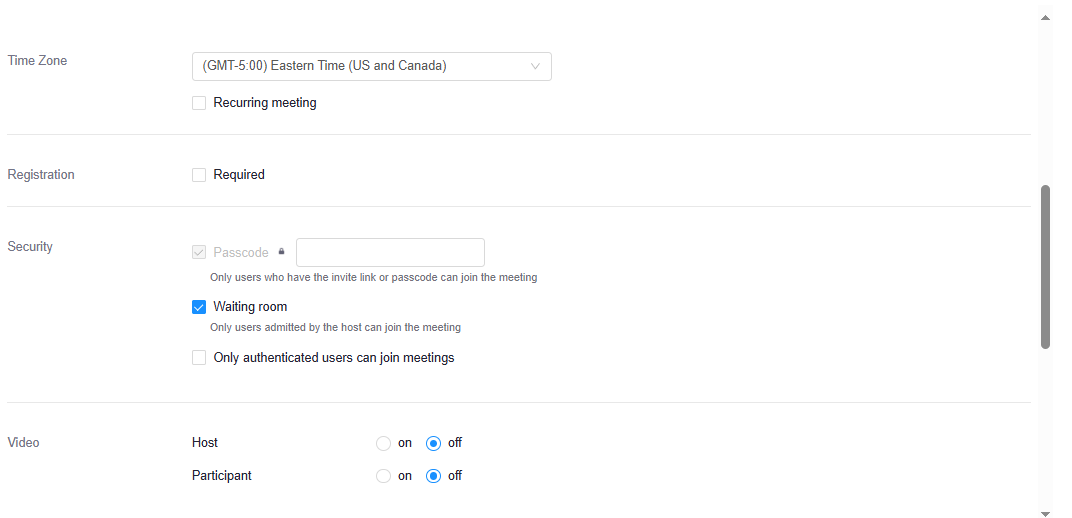
(Figure 4: Screenshot of meeting settings page with options for time zone, security, and video settings.)
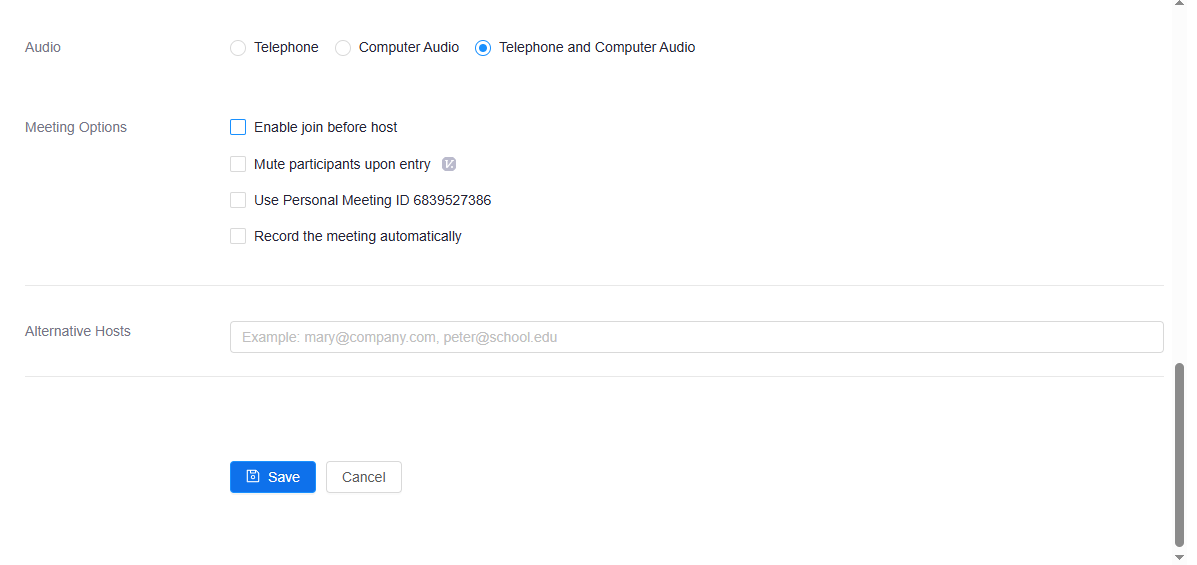
(Figure 5: Meeting configuration interface with audio settings and meeting options.)
Meeting Options:
- Reoccurring meeting- allows you to schedule a single meeting that automatically repeats on a set schedule (daily, weekly, monthly), meaning you only need to create one meeting link and participants can join the same meeting at the designated times without needing to reschedule each occurrence.
- Registration – this is not needed. This requires students to register for the class ahead of time. Leave this unchecked.
- Video – if you would like yourself and/or students to be prompted to activate their camera when joining, you can indicate that here. During the live session, you will have the ability to toggle cameras on/off regardless of this setting.
- Audio – “Telephone” means microphone here. You will likely want your mic activated, and possibly your computer audio. Check “both”.
- Meeting option – We suggest selecting “Mute participants upon entry”.
- Depending on whether you plan to record your class you may also choose “Record the meeting automatically”.
6. After entering the information and selecting the preferred options be sure to click Save.
Below is an example of what the BrS Zoom dashboard should look like
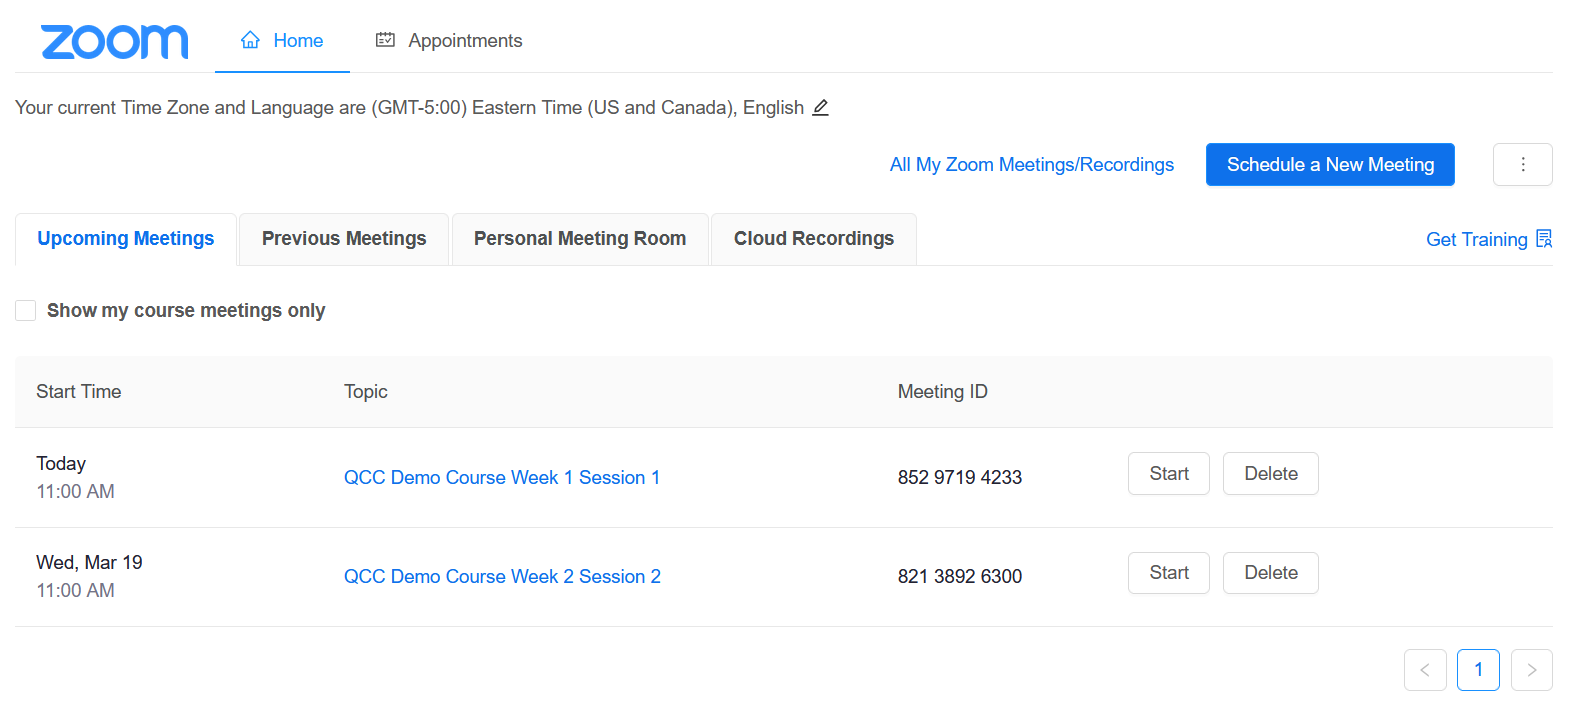
(Figure 6: Zoom webpage listing upcoming meetings with options to start or delete.)
Zoom Camera Setup